How to Change Language in Google Nest Mini
Are you unhappy with the language settings on your Google Nest Mini and want to change your language settings on your Google Nest Mini? Or learning a new language and want to practice it regularly with some assistance? DON’T WORRY! We have got you covered. Today, we will show you how to change the language on your Google Nest Mini. Whether you’re practicing a new language, setting up the device for someone who speaks a different language, or simply prefer your assistant in another tongue, this guide will walk you through the process step-by-step. By the end of this article, your Google Nest Mini will be speaking and understanding the language of your choice.
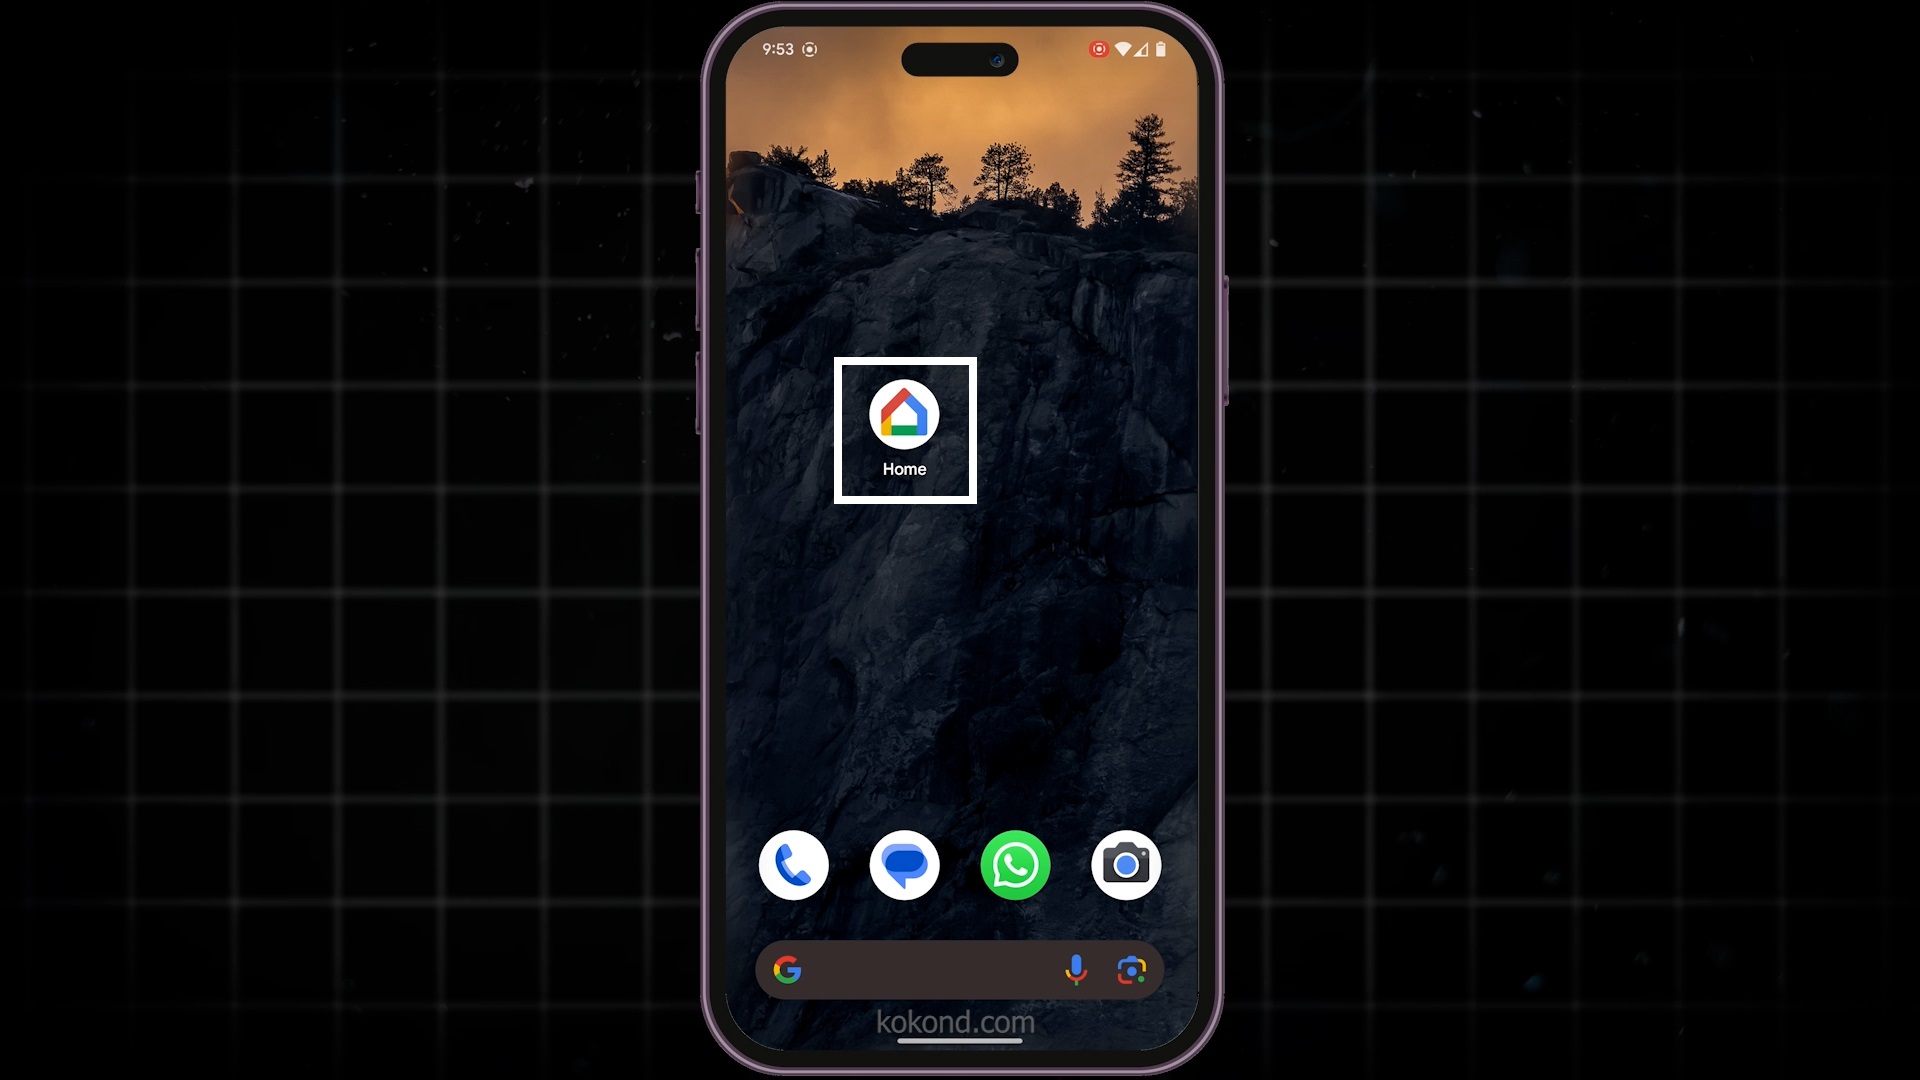
1: Open the Google Home App
- First, grab your phone or tablet and open the Google Home app. This app is essential for managing all your Google devices, including your Google Nest Mini, and will be useful for changing your “Language Settings.”
- You should ensure you are logged in with the same Google account linked to your Google Nest Mini. If the app is not installed on your phone or tablet, you can download it from the App Store for iOS or Google Play Store for Android.
- Once the Google Home App is installed on your device, open the app and log in with your Google account credentials. This will ensure you can access all your device’s features and settings.
2: Access the Settings Menu on the Google Home App
- Tap on the “Settings” icon. You can usually find the Google Home Settings menu on the home screen or in the bottom right corner of the app. Clicking on it will open a menu to manage various settings for your Google devices.
- The settings menu includes options for account settings, device settings, and many more. Although this menu might initially seem overwhelming, it’s designed to help you customize your Google Home experience.

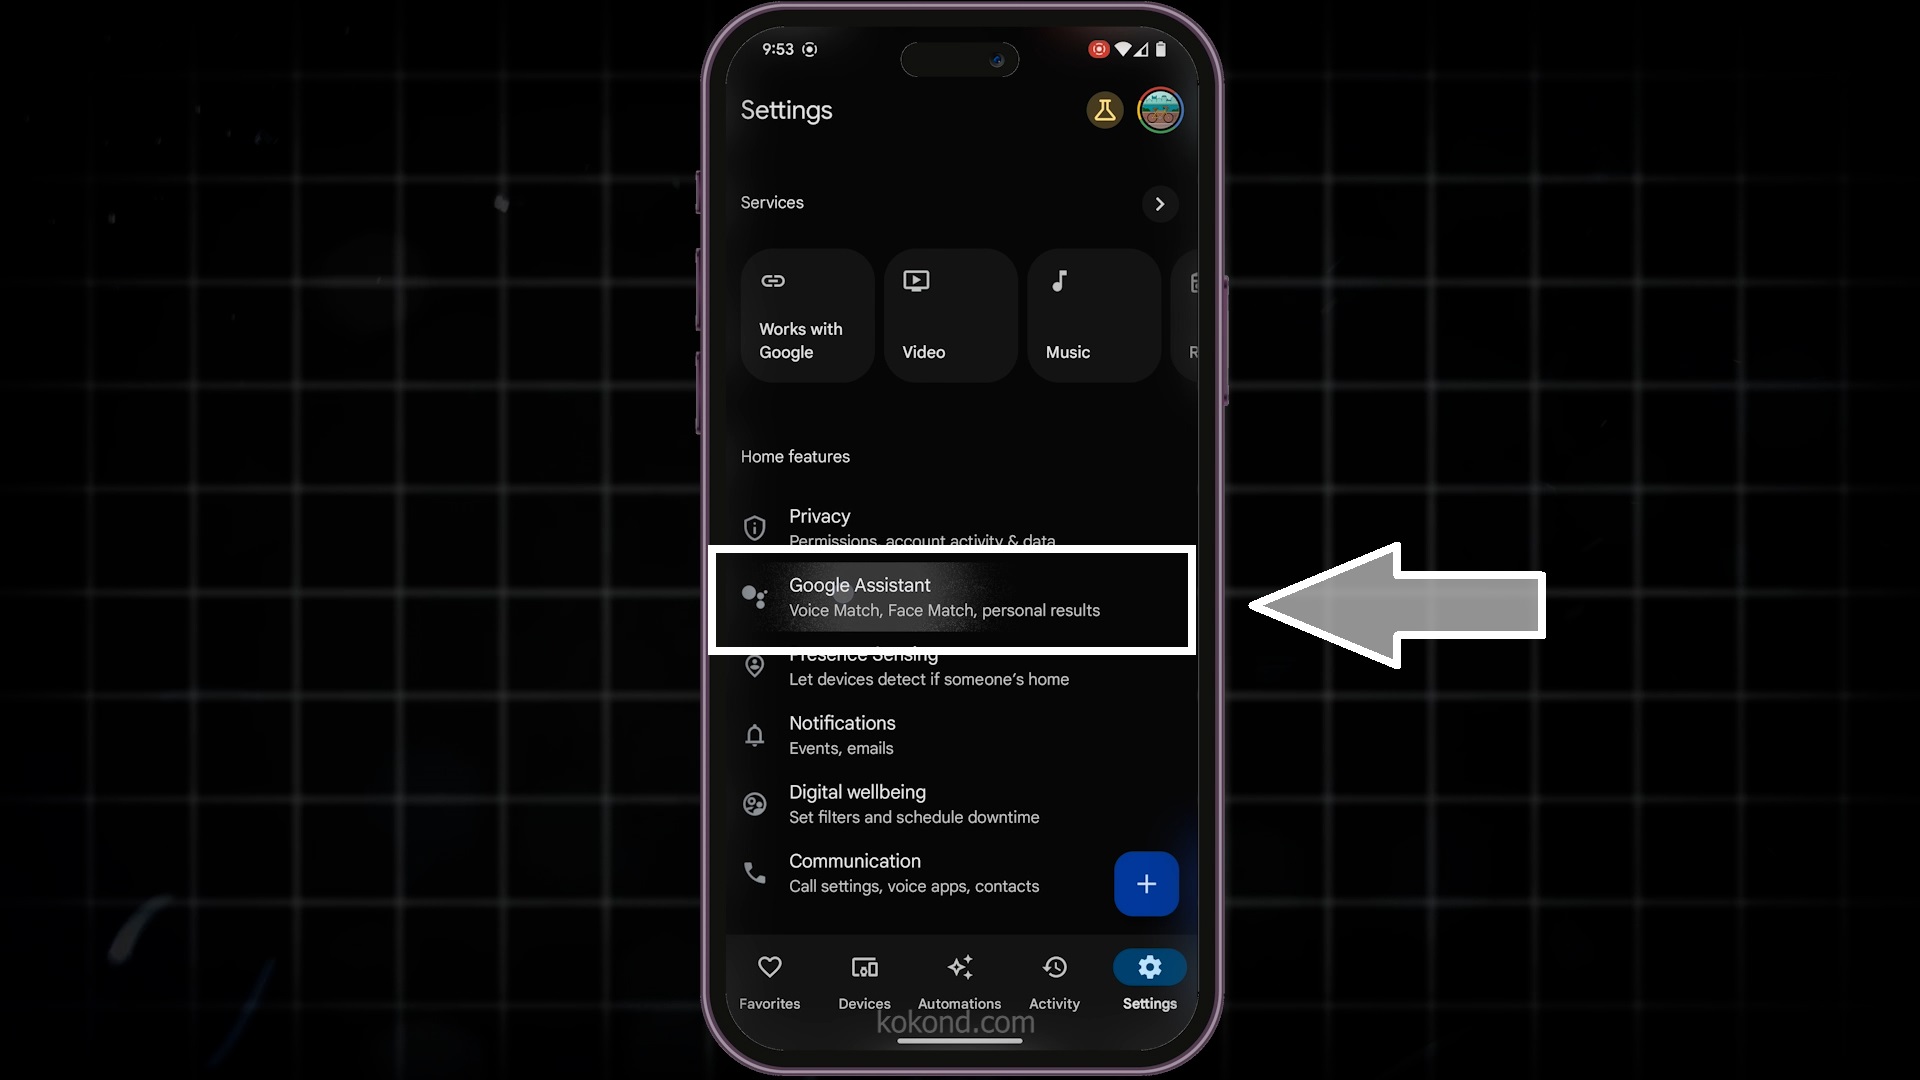
3: Navigate to Google Assistant Settings on the Google Home App
- Once you have accessed the Google Home App settings, scroll down and look for the “Google Assistant” section. Tap on that to access your Assistant settings. This section controls all the features and settings related to Google Assistant and will do the same for your Google Nest Mini.
- Here, you can adjust how your Assistant interacts with you, from voice match to routines and preferences. It’s a centralized hub for all things Google Assistant.
- By tapping on “Google Assistant Settings,” you can fine-tune the functionality of your Assistant to better align with your daily routines and preferences, ensuring a more personalized experience.
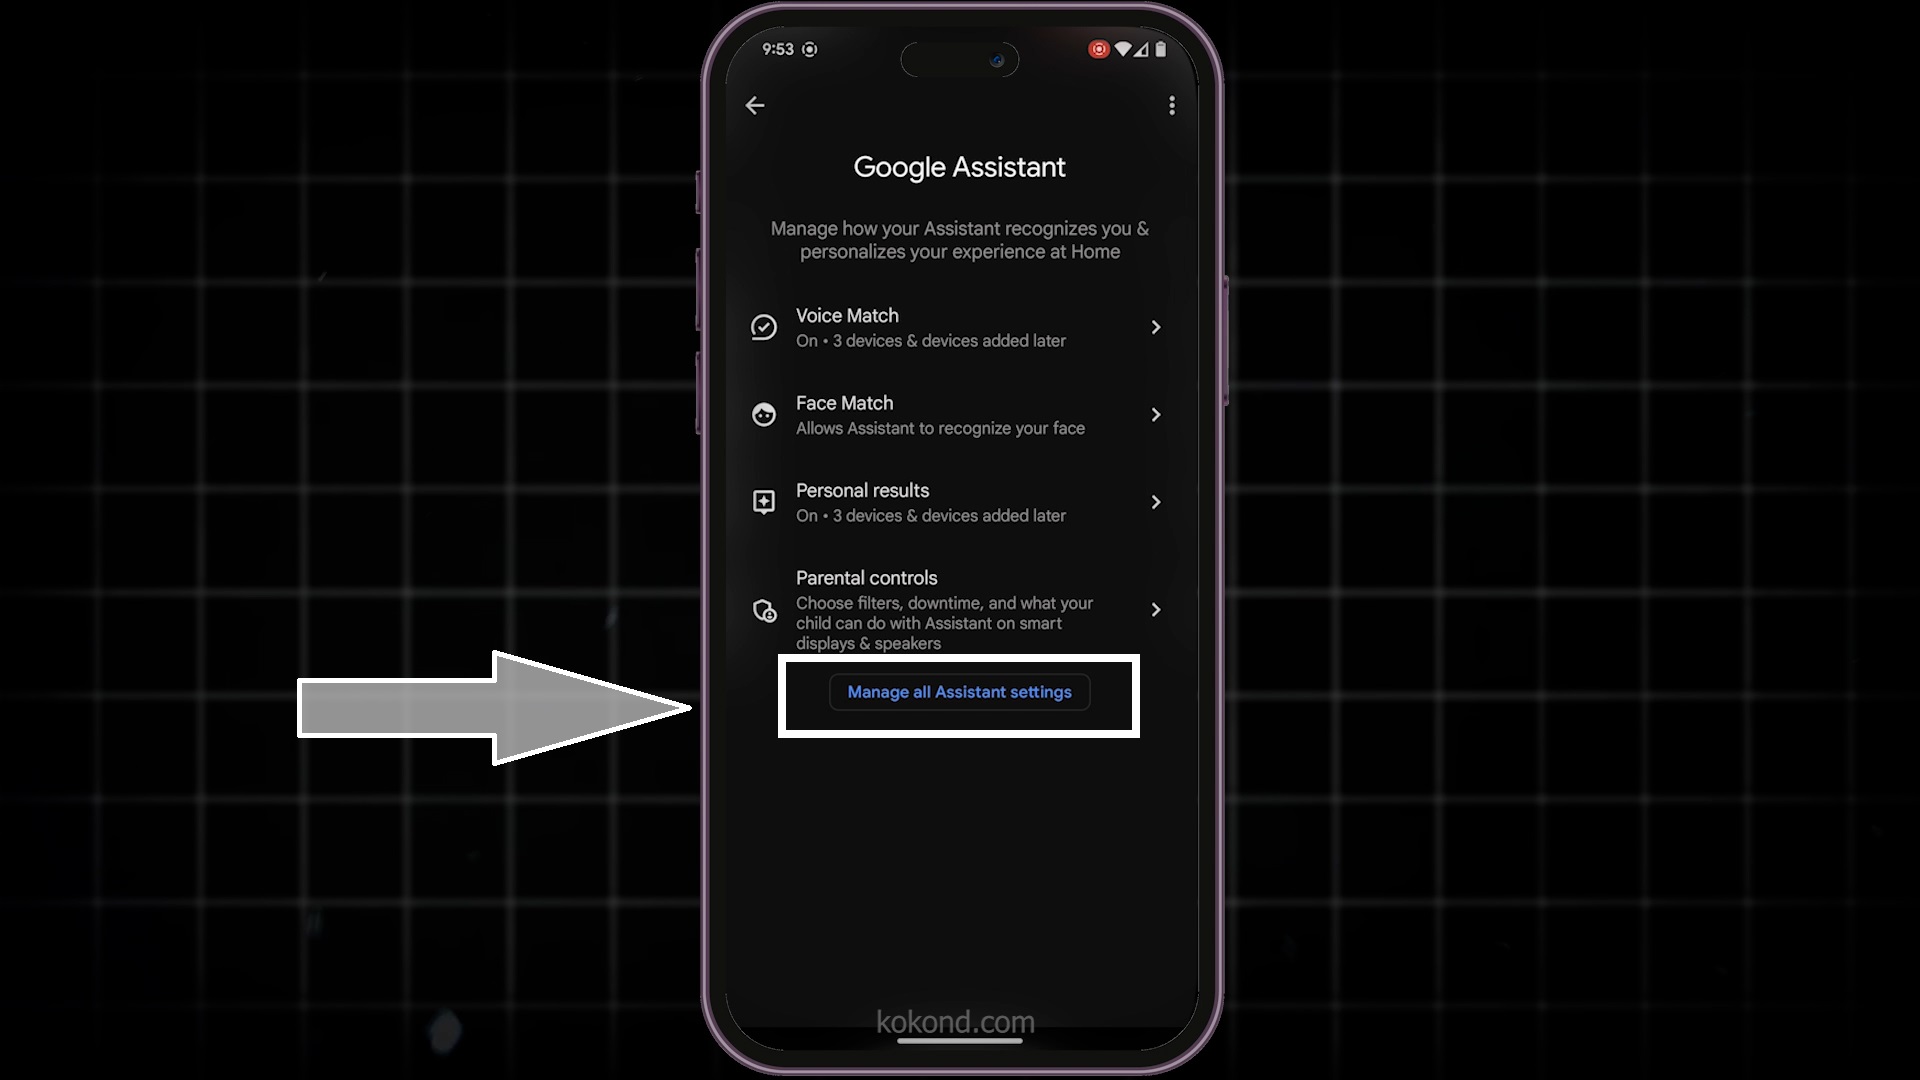
4: Select the option for Manage All Assistant Settings
- Once you have accessed the Google Assistant Settings, you will see an option in Assistant settings that says, “Manage all Assistant settings.” Tap on that option to open a detailed menu with all the advanced settings you can control for your Google Assistant.
- This menu includes news preferences, voice matches, and linked accounts. Exploring these settings allows you to see the full range of what Google Assistant can do.
- It’s worth a moment to familiarize yourself with these options, as they can greatly enhance your interaction with your Google Nest Mini and other Assistant-enabled devices.
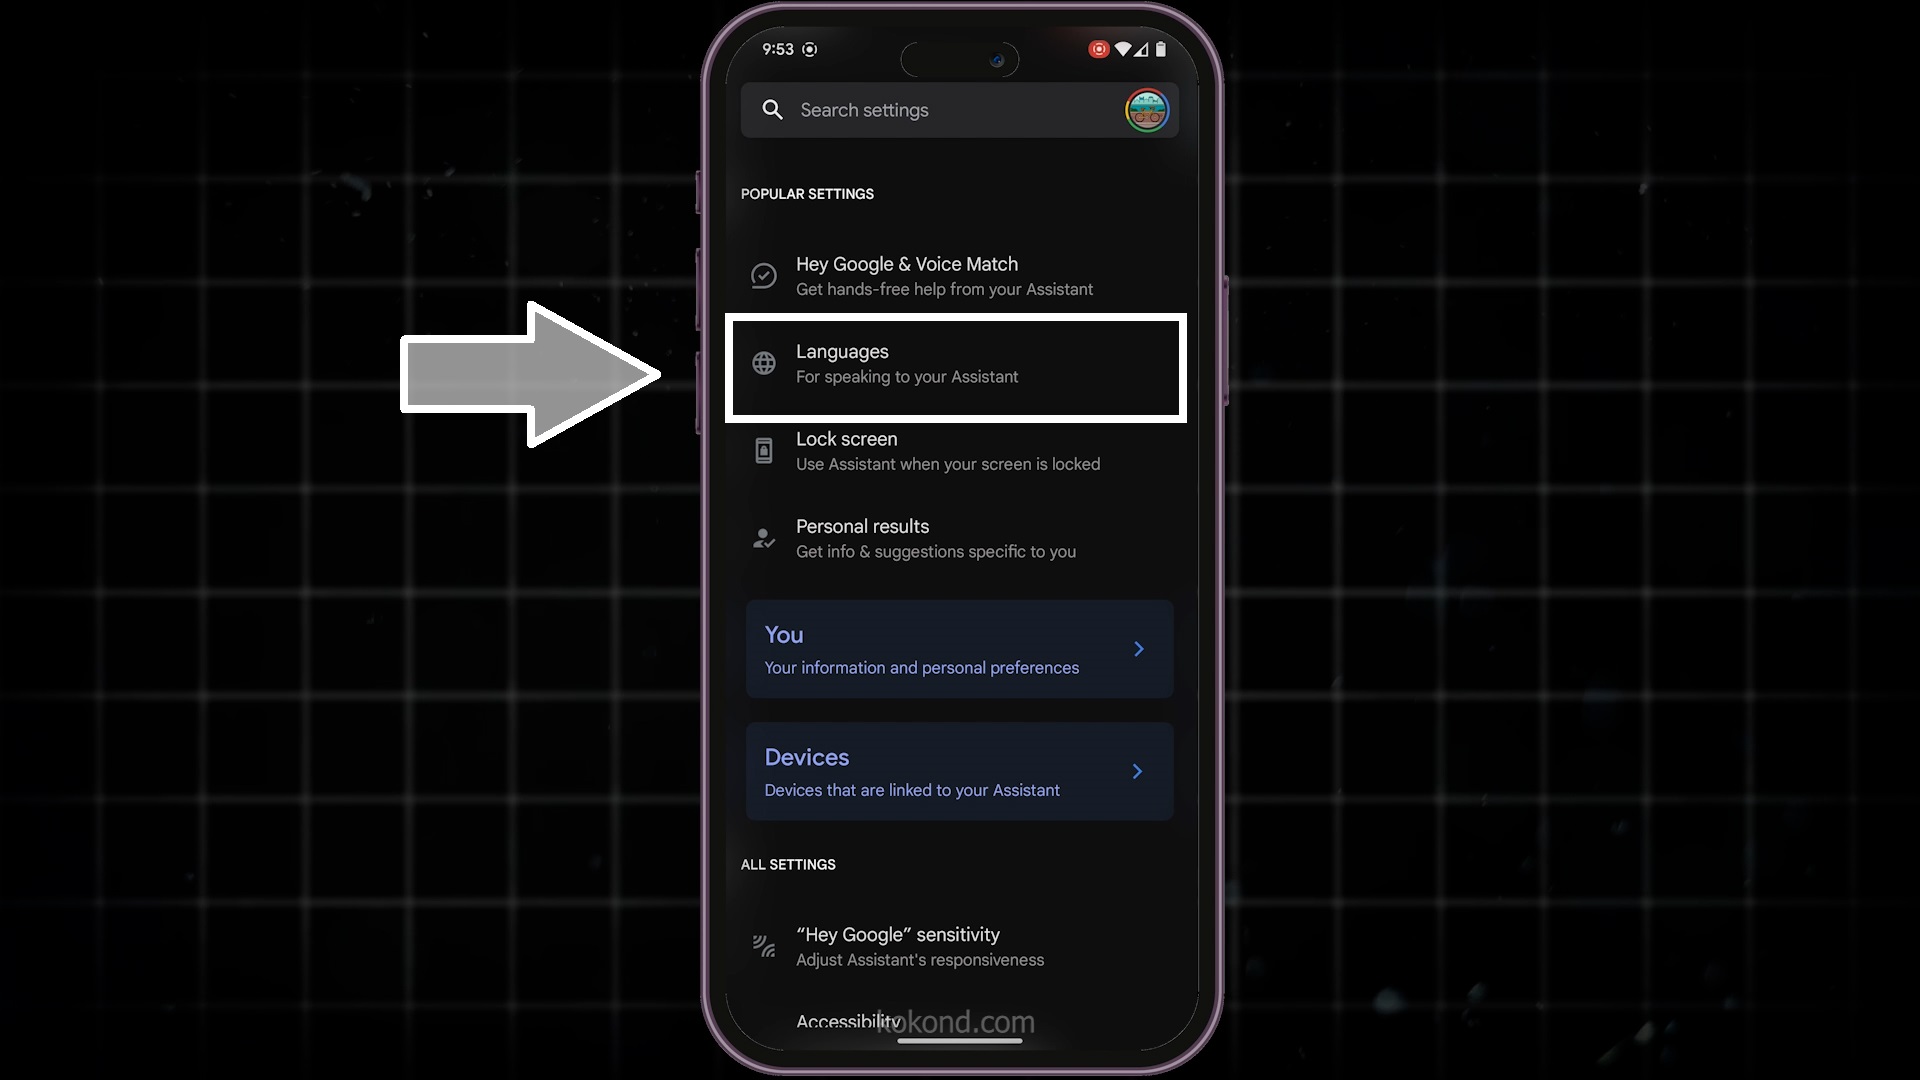
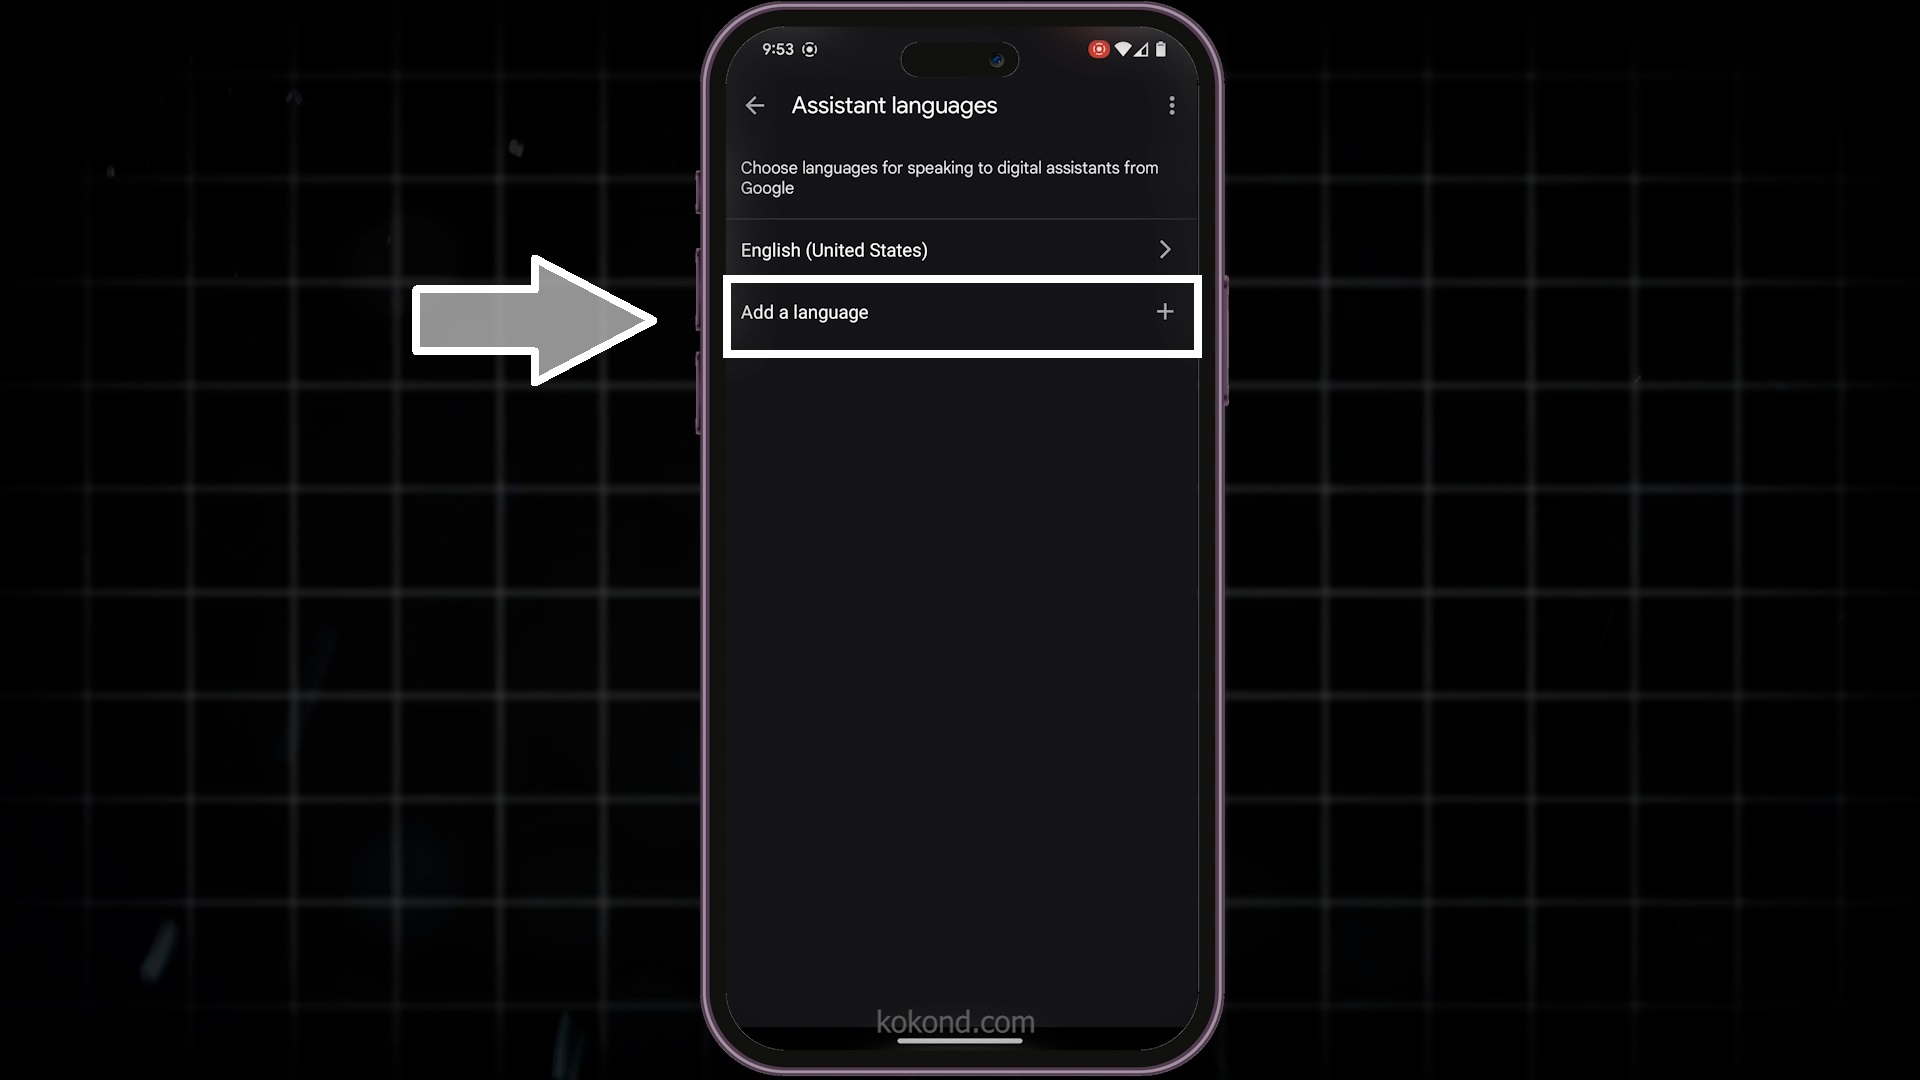
5: Access the “Languages” Settings Option
- After selecting the “Google Assistant Settings option,” look for the option that says “Languages.” You can choose the language your Google Nest Mini will speak and understand.
- The language settings are crucial for ensuring that your Assistant can communicate with you effectively. Tap on “Languages” to open a list of currently set languages.
- This section allows you to add, remove, and switch between languages as needed. This feature is particularly useful if you are multilingual or learning a new language.
6: Select the Add a New Language Option
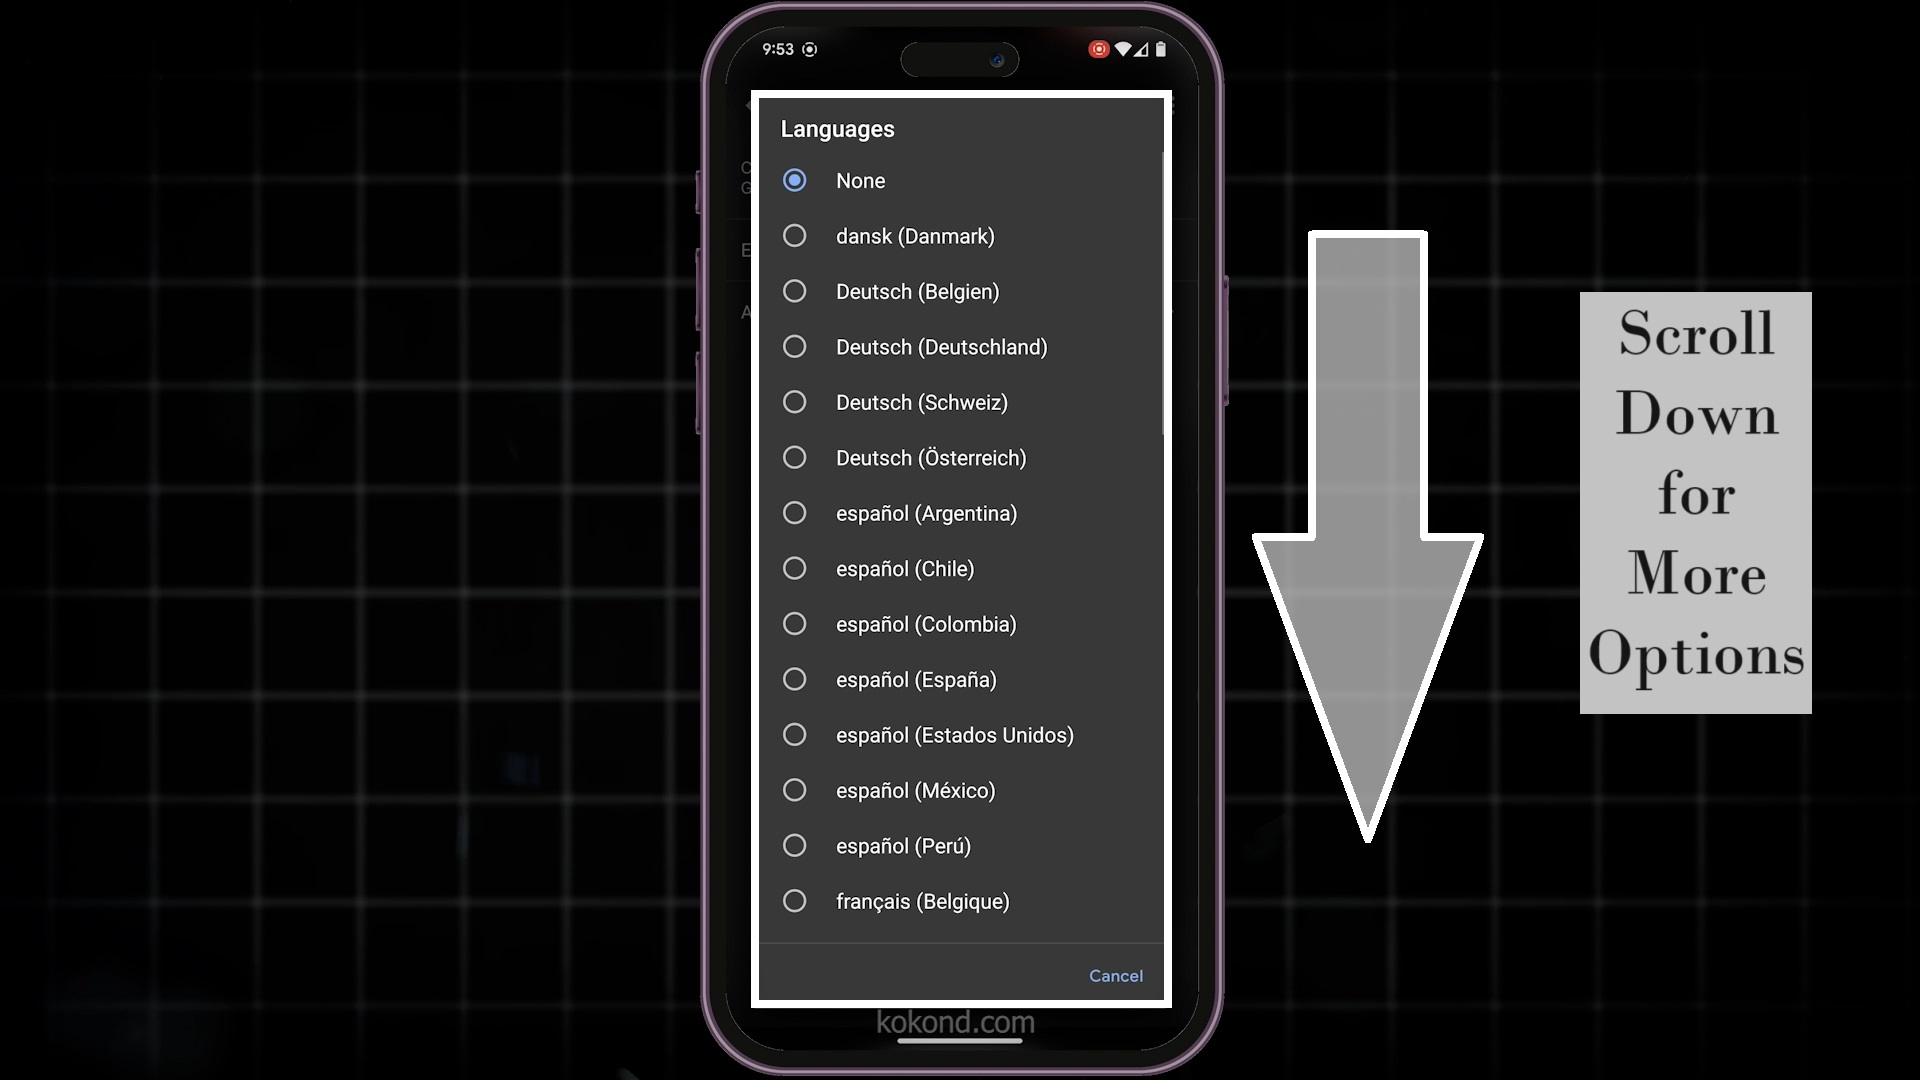
- Since we want to change the language settings on our Google Nest Mini, tap “Add Language.” This will show you a list of all the languages currently supported by Google Assistant. Scroll through the list to find your desired language.
- Once you see the language of your choice, tap on it to add it to your Google Assistant. You can also reorder the languages depending on your usage if you’ve added more than one.
- The top language in the list will be your Google Assistant’s primary language. This flexibility allows you to set up your Google Nest Mini in a way that best suits your language preferences.
7: Select a Language of Your Choice
- Finally, choose the language you want to use on your Nest Mini from the list. Once you select it, your Assistant will automatically switch to that language. Wait a few moments while the device updates its settings.
- After the update, test your Google Assistant by giving it a command in the new language. Your Google Nest Mini should respond in the new language if everything is set up correctly.
- This step ensures that your Assistant can communicate in your chosen language, enhancing your interaction experience.
Conclusion:
And that’s it! You’ve successfully changed the language on your Google Nest Mini. This simple process allows you to enjoy a more personalized and accessible experience with your Google Assistant. Whether practicing a new language or making your device more user-friendly for different household members, switching languages on your Google Nest Mini is a straightforward and effective way to get the most out of your device. Thanks for following along, and happy chatting with your Google Nest Mini in its new language! To watch the video tutorial for the same process, click on the video below:

Passionate about tech gadgets, I turned my love into a blogging journey. Specializing in how-to articles, I unravel the intricacies of gadgets, providing step-by-step guides. Join me in exploring the tech universe, where every device holds endless possibilities. Let’s simplify the complexities and enhance your tech experience together.